Destiny 2 Grasp of Avarice Dungeon Guide
Destiny 2 Grasp of Avarice is the new dungeon introduced with the Bungie 30th Anniversary update.
Note that to have access to the Grasp of Avarice dungeon, you need to have purchased the Bungie 30th Anniversary DLC.
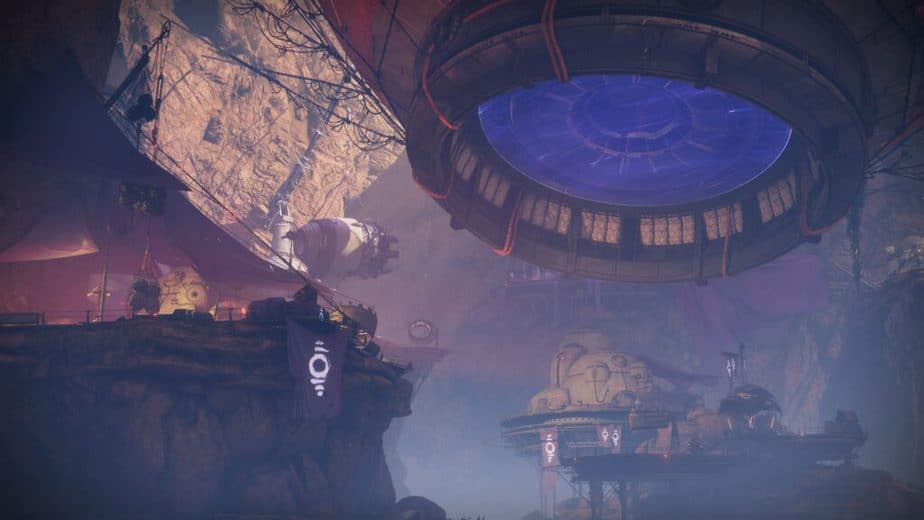
The Grasp of Avarice dungeon takes place in the Cosmodrome, and it takes players back into the once before famous loot cave, which will be the entrance to the dungeon.
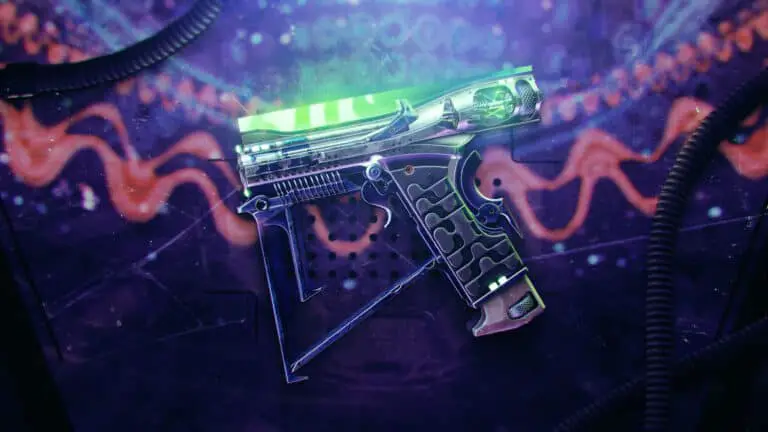
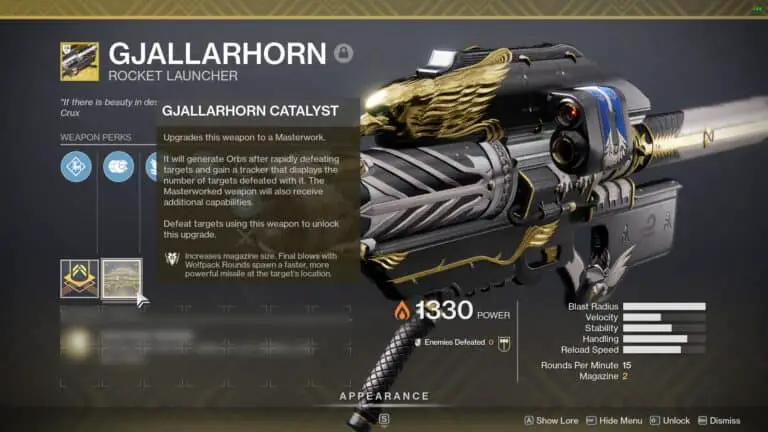
Completing the dungeon is also a crucial step to unlocking the Gjallarhorn exotic rocket launcher and its Catalyst.
So, make sure you grab the And Out Fly The Wolves quest from Xur in Xur’s Treasure Hoard or by speaking with Shaw Han to get the Gjallarhorn Exotic rocket launcher.
The Grasp of Avarice dungeon has a recommended Power of 1310 to play.
You can also check out our guide of all Wilhelm-7 messages locations, which are within the Grasp of Avarice dungeon, for the Gjallarhorn ornament.
Destiny 2 Grasp of Avarice Walkthrough Guide
Dungeon Entrance
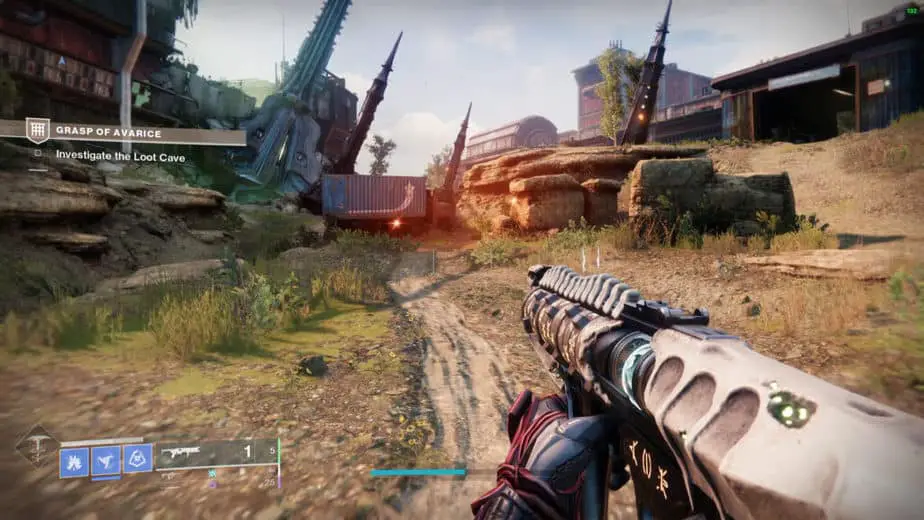
Once you enter the Grasp of Avarice dungeon, you will arrive in the Cosmodrome.
From there, just run forward and you will start to see some enemies right next to the famous Destiny loot cave.
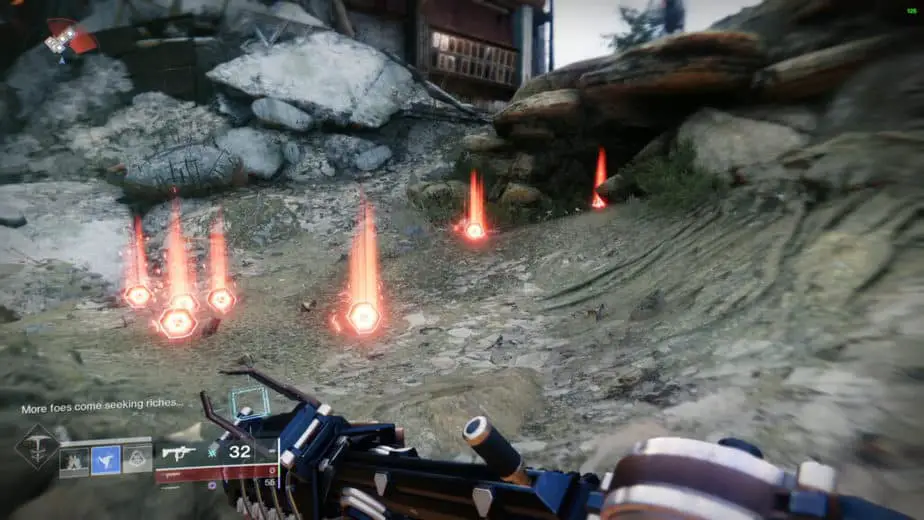
You will have to stand outside the cave and kill every enemy that spawns, as they will start dropping Exotic-looking Engrams that flashes gold and red.
When you pick up these engrams, you will acquire the Burdened by Riches debuff. This debuff lasts 25 seconds, and if you don’t get rid of it in that time, it will kill you.
You can stack this debuff by picking up more engrams, so each new engram you pick up refreshes the timer.
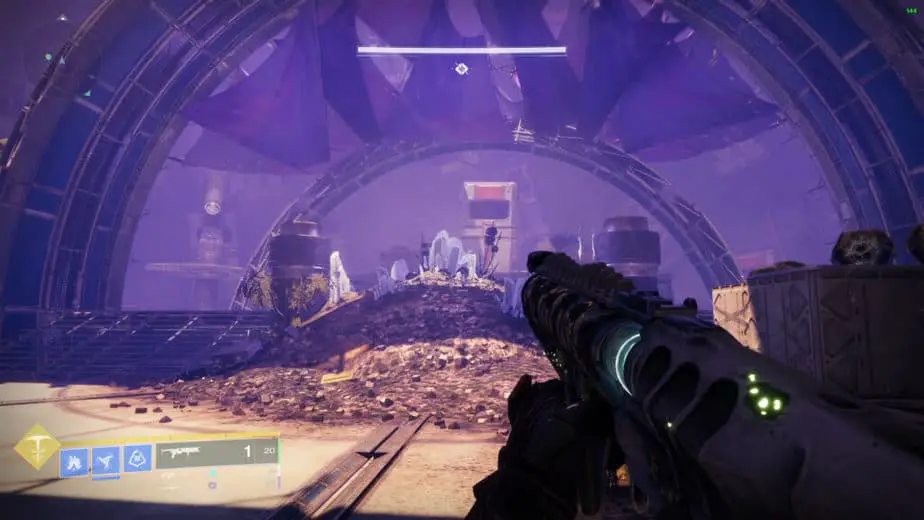
Now once you have the Burdened by Riches debuff, you will have to get rid of it, and to do that you will have to go inside the cave and stand next to the white crystal.
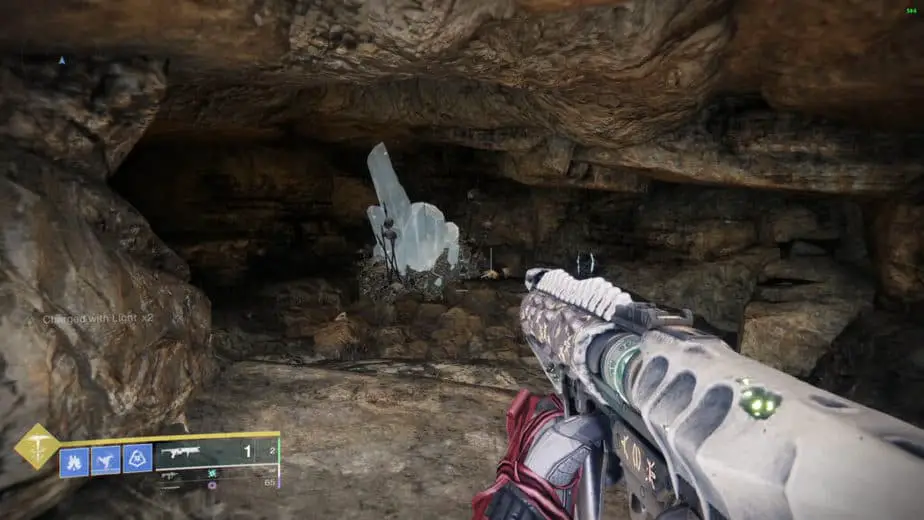
When you stand next to the white crystal, the crystal will then start to drain the debuff out of you, two stacks at a time.
The more stacks you give the crystal, the more it will charge. Once it has absorbed enough Burdened by Riches, a hole will open in the floor of the loot cave, and you can now enter the dungeon.
This is the main mechanic to the dungeon, you will have to pick up engrams to get the Burdened by Riches debuff, and stack a lot of it, then you will have to stand next to the white crystals, so you can charge them.
You can also see a walkthrough by Esoterickk below if you want the extra help:
Navigate The Facility
Once you enter the Grasp of Avarice dungeon you will be presented with a lot of traps that will instantly kill you.
So, to better navigate this part of the dungeon, here is how to avoid getting killed by those traps and reach the first boss encounter.
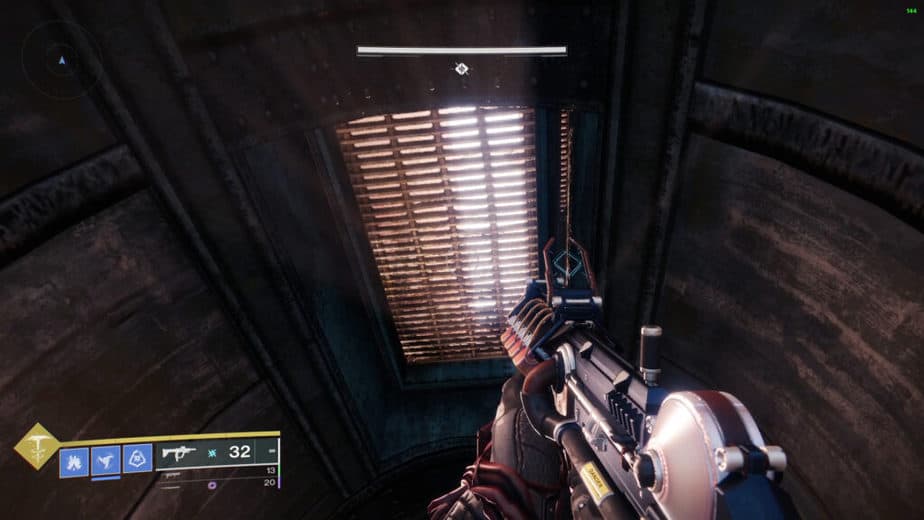
First Trap
In the first room, you will have two doors on the right wall.
- Enter the door on your left, the one on your right will kill you.

- Inside you will have to jump over a pressure plate on the floor, stepping on it will kill you.
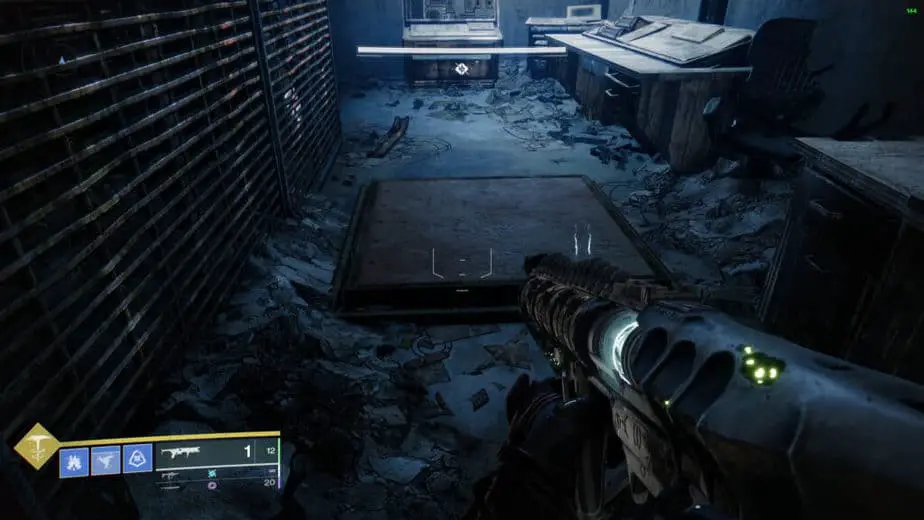
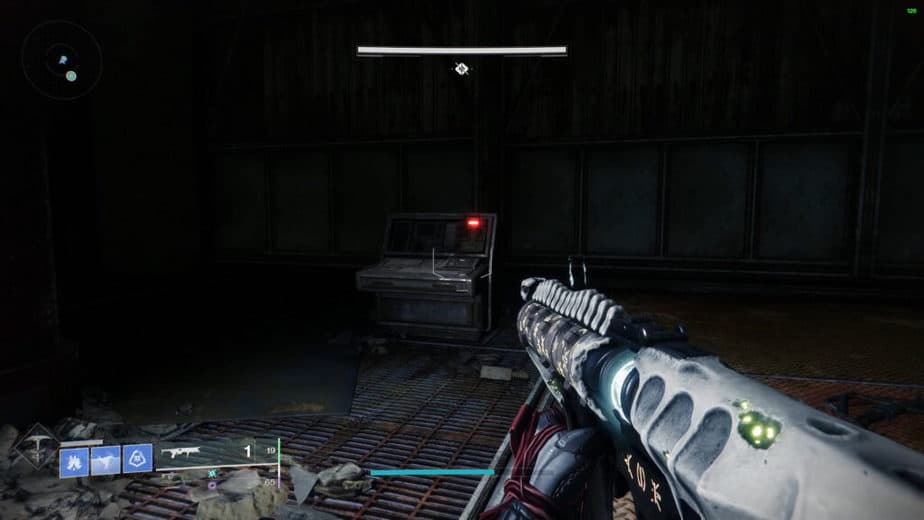
- Then pull the lever on the Terminal
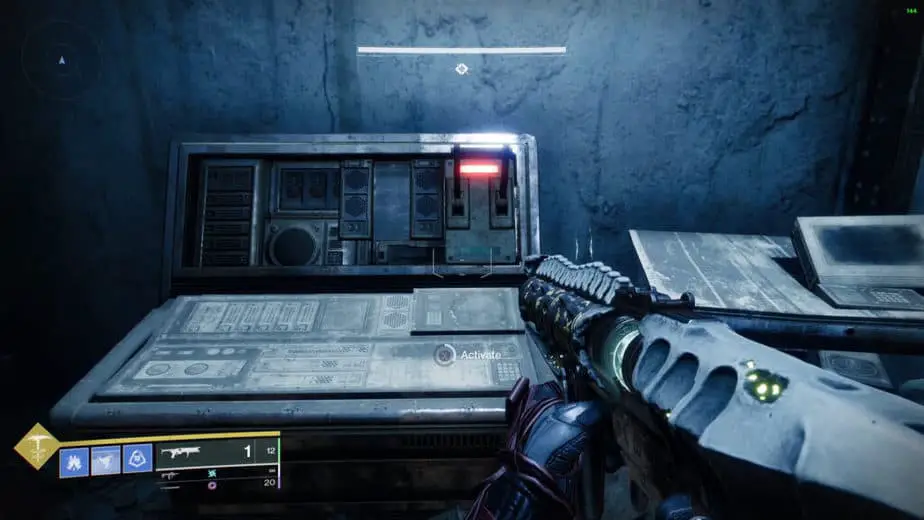
This will open the tunnel door for the next room.
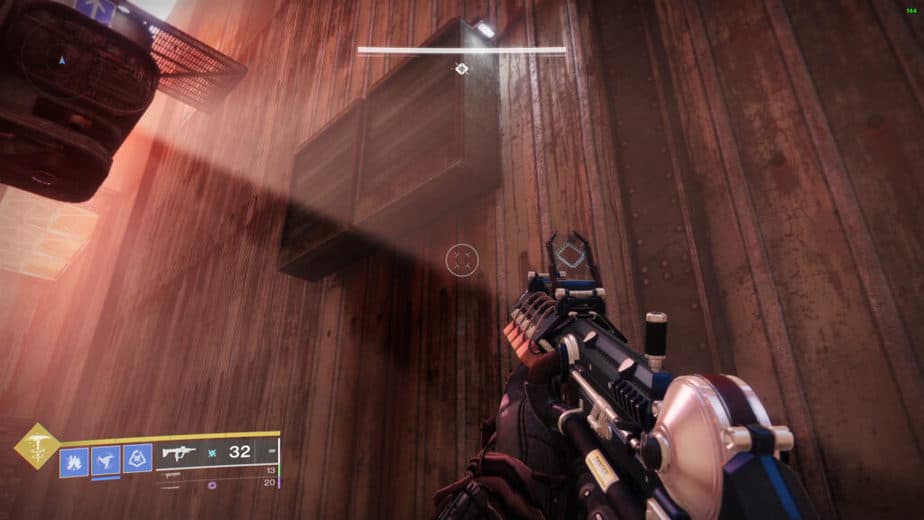
Second Trap
In the next room, you have to jump forward onto the platforms, but you have to jump from them fast because they will open and you will fall and die.
From the platforms, you can jump forward to the terminal in front but don’t activate it because it will kill you, instead, look back and jump to the access below the platforms, activate that lever, and turn back to the first room.
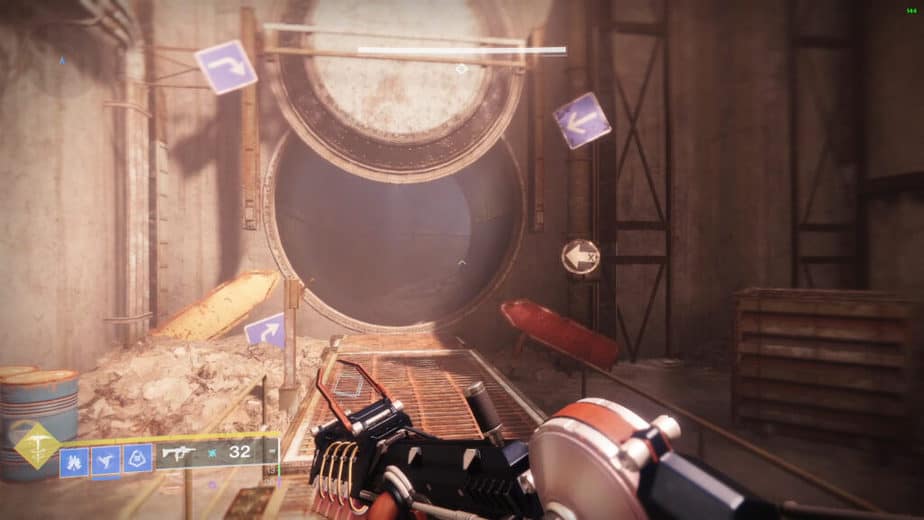
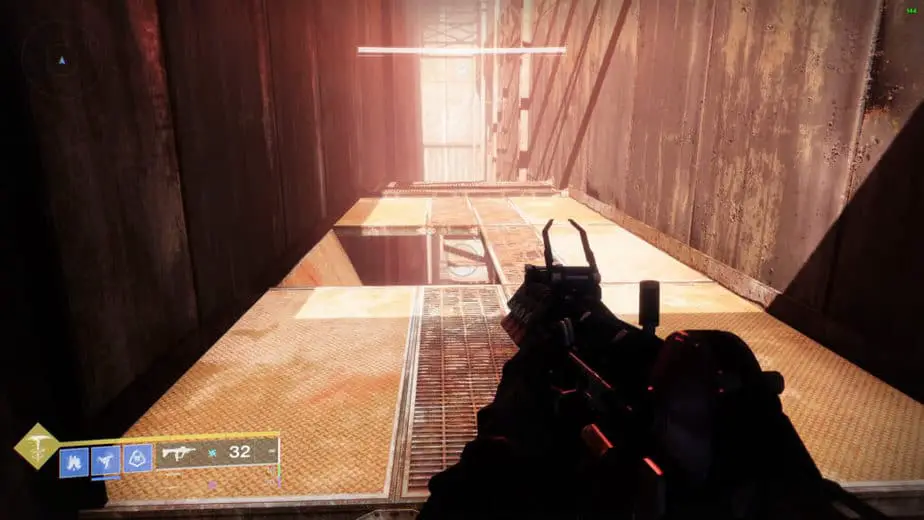
Third Trap
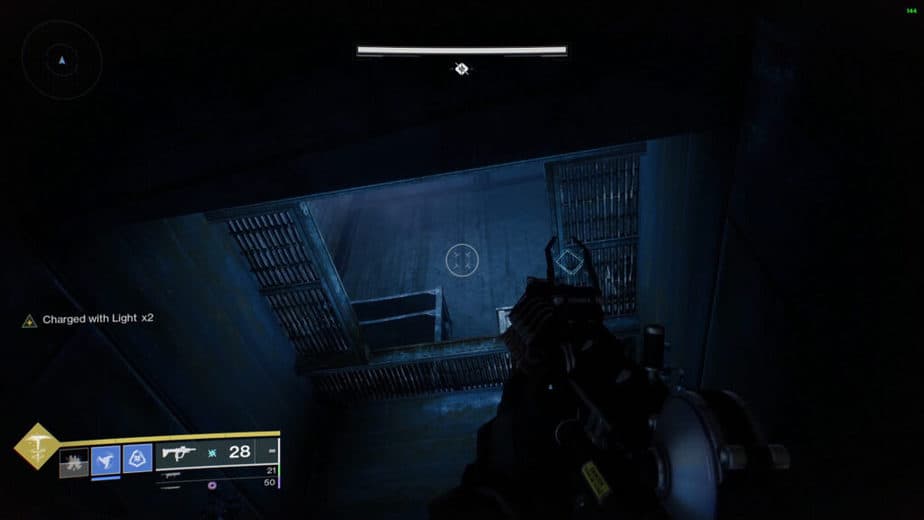
Now, in the room with the two doors, you will have to climb the walls until you reach six pipeline entrances.
You will have to enter the third pipe on the right.

This pipe will have a pressure plate on the floor and a grate above you, stand on the pressure plate, and the grate will open for you to jump up.
All other pipes will have some traps that will kill you.
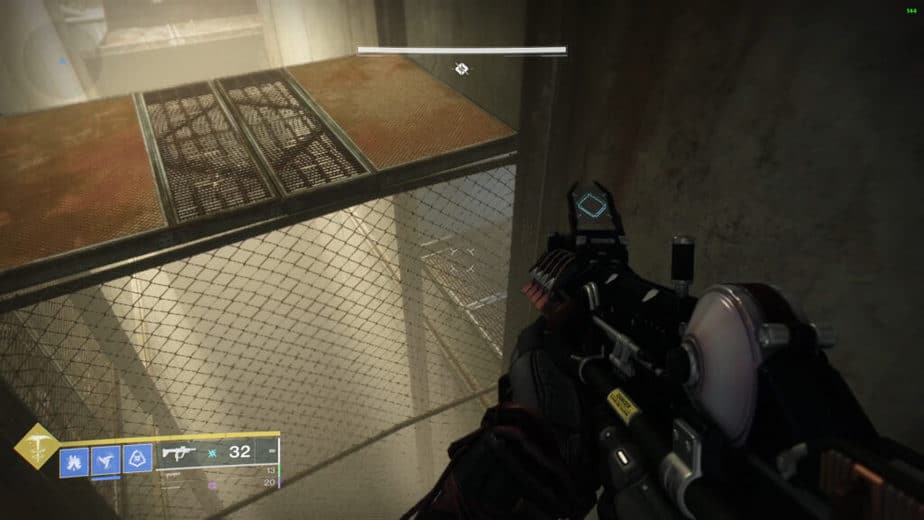
Now you will have to climb the wall on your right and jump onto the platform in front but be careful there is a pressure plate at the left side of the platform that will kill you.
Then jump to the next platforms and these ones will open if you stand on them too long, so be fast.
Fourth Trap
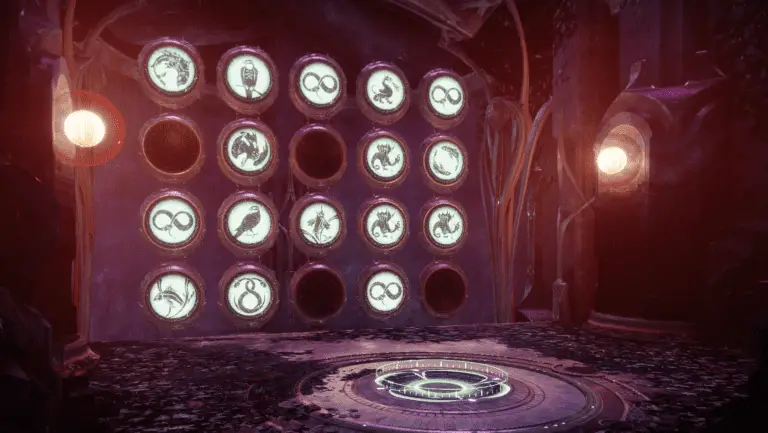
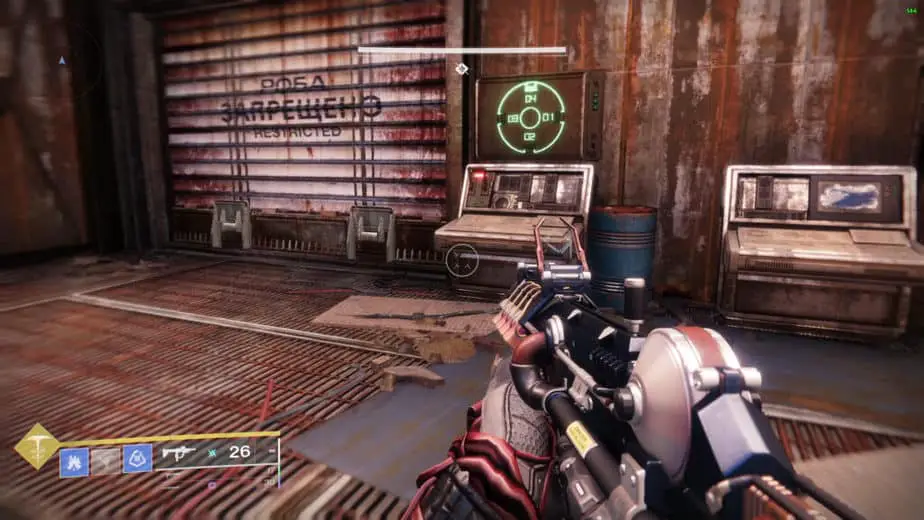
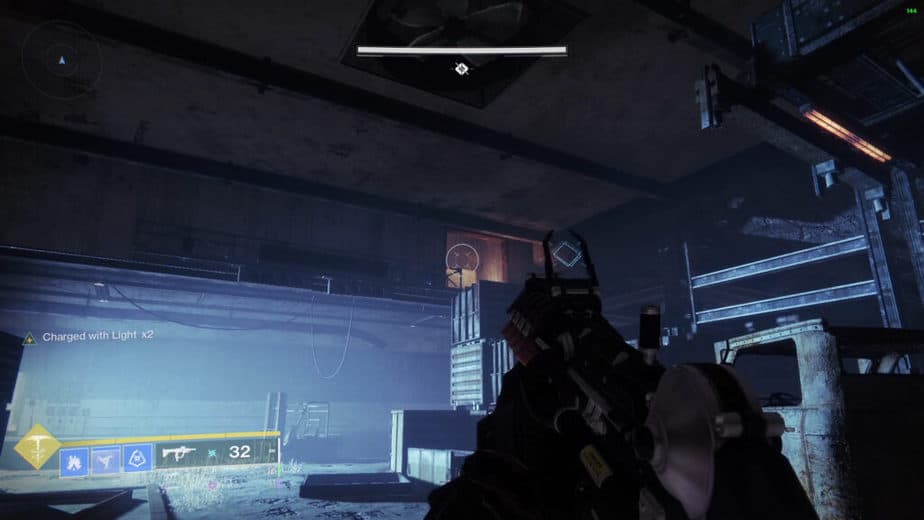
After that, you will reach another terminal with a panel showing the doors that are open and closed.
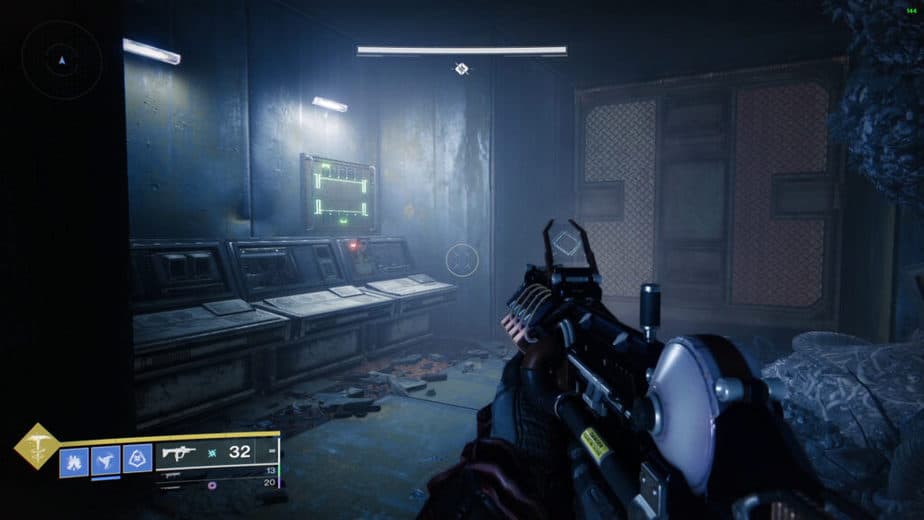
For this section, you will have to activate the terminal which will open the door next to you and some doors outside, enter the door most close to you on the left wall, but be careful with the pressure plate traps on the floor.
Activate the new terminal inside that room which will close the door from where you came in and open a new door on the other side for you to get out and a new door will be open on the other sidewall.
So, you will have to do a zig-zag through the doors until you reach the last terminal that will open the big entrance door.
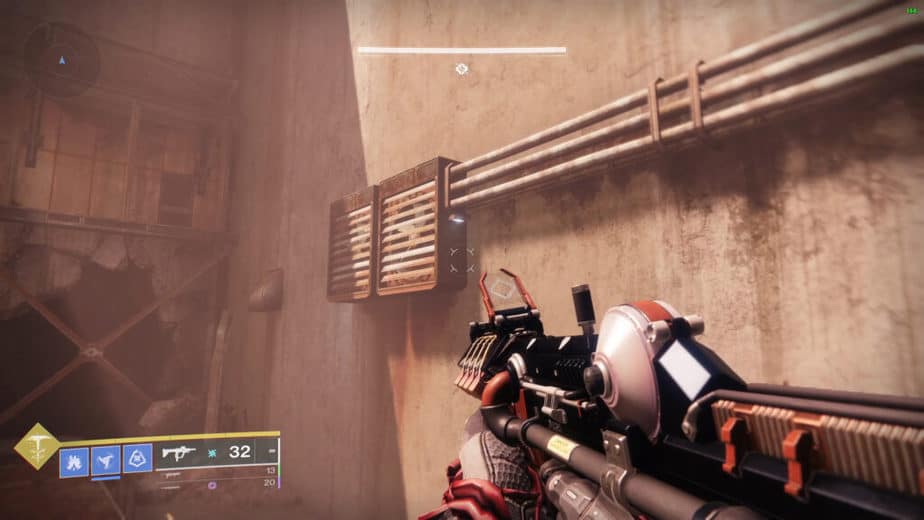
The last terminal will be a bit hidden if you don’t pay attention, in the last room go to the far back and look up, jump up and activate the terminal.
Then you will have to backtrack the same way to the big door and activate the terminal inside which will open the other big door entrance for you to proceed.
Once you get through the big entrance you will have two doors.
Open the door right in front of you and ignore the one on your left as that one will instantly kill you.
Fifth Trap
Now that you passed through all of that this one will be a little bit softer.
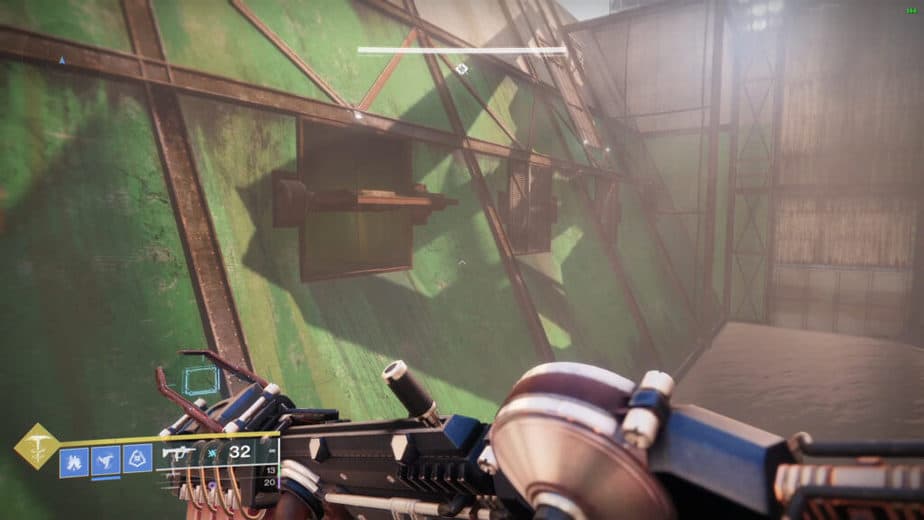
Note that there is a secret chest in this area, the chest is between the Number 3 and Number 4 sections in a large metal beam.
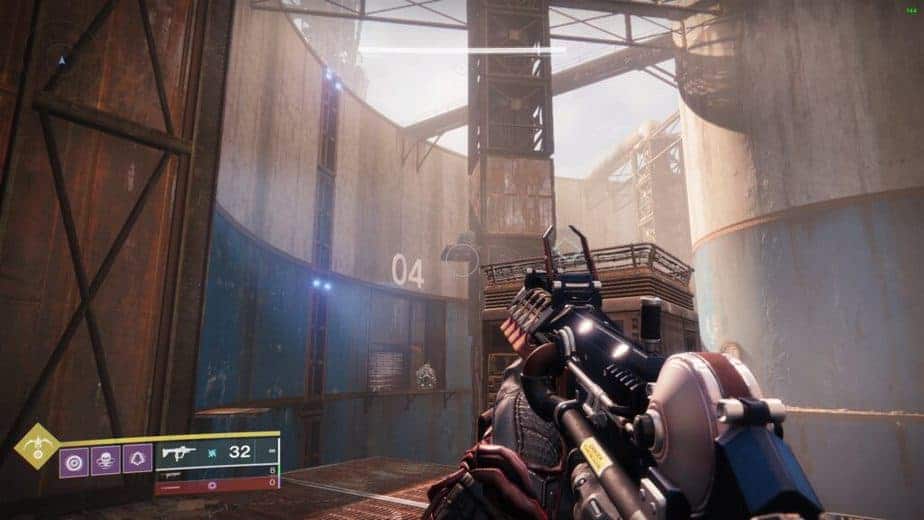
To reach the secret chest you have to jump onto the small collapsable platform that’s embedded into the wall adjacent to this beam.
When you jump onto the platform you will have to very quickly because the platform will collapse once you touch it, then face the metal beam and jump up onto the platform with the chest.
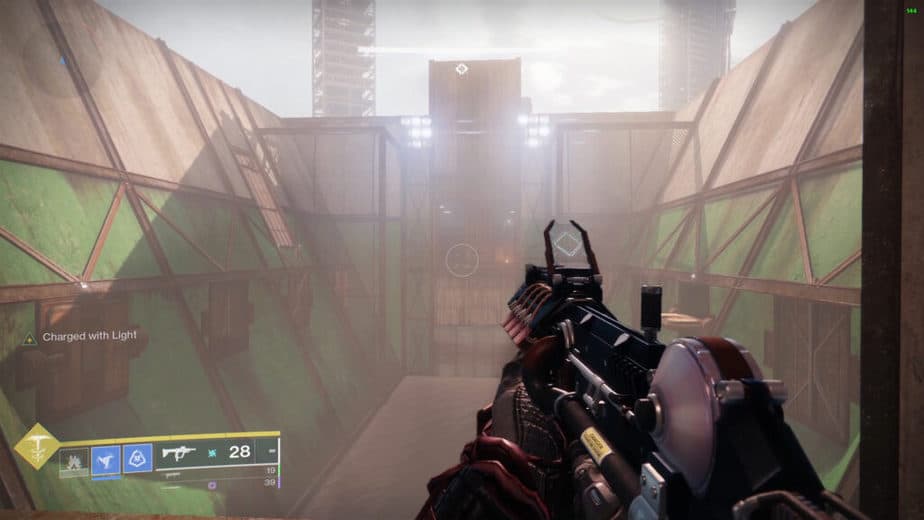
Once in this area, jump to the center platform and then jump to the access door with the number one above it.
- Activate the terminal there and it will open door three.
- Go into door three, kill the enemies and activate the terminal inside which will open door one.
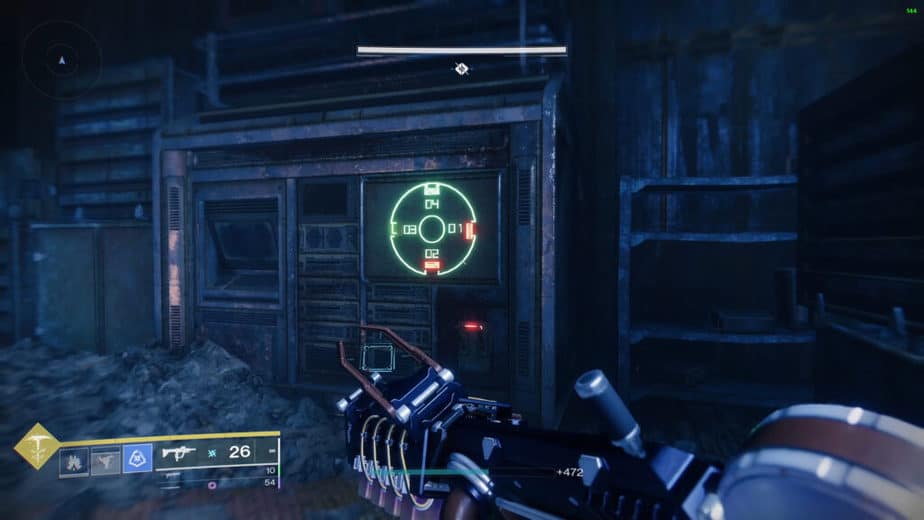
- Now go into door one, kill the enemies and activate the terminal which will open door two.
- Jump to door two and kill the enemies especially the one that holds a Scorch Cannon.
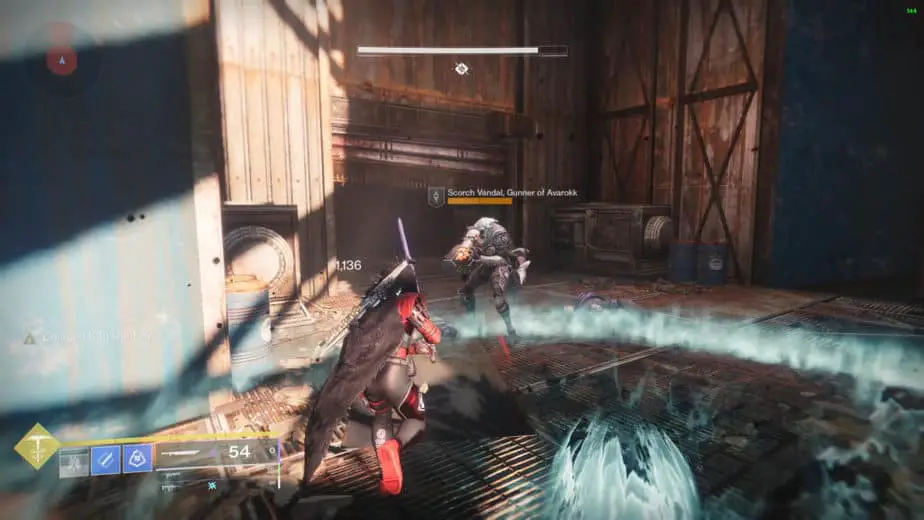
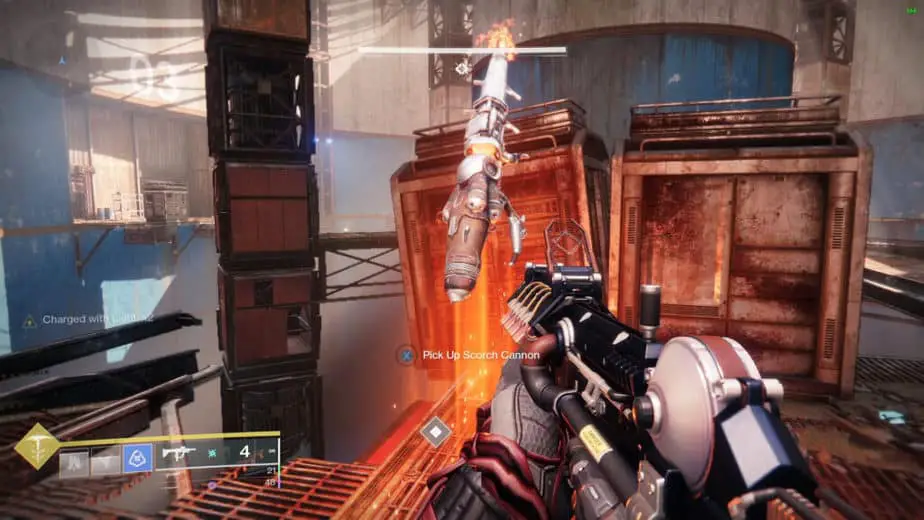
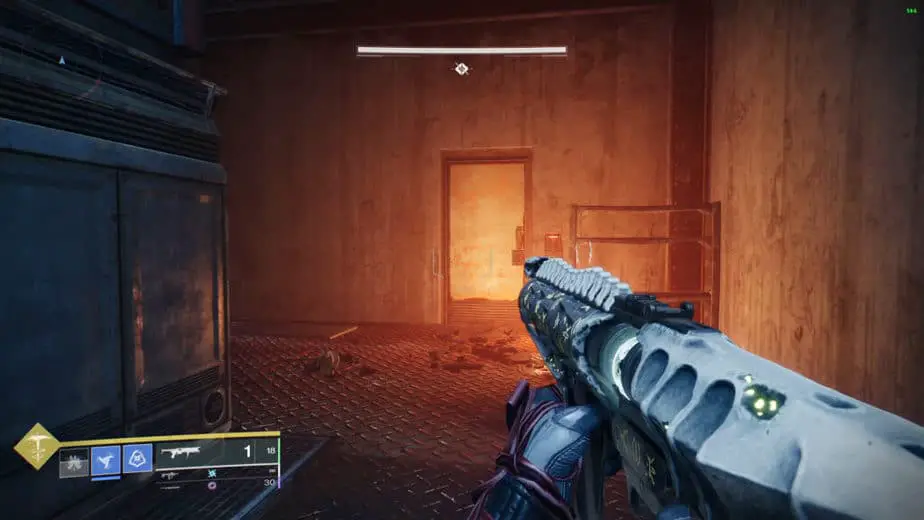
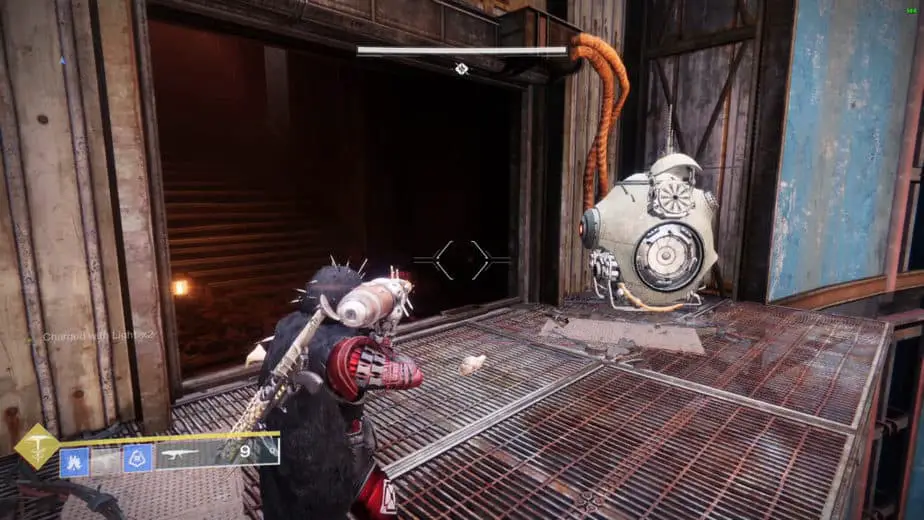
Once you’ve acquired the Scorch Cannon go to door number four and you will have to fire the Scorch Cannon into the energy box, preferably right in the center.
You can shoot the Scorch Cannon at the energy box three or four times, or shoot it once and then hold the trigger until the shot fully charges.
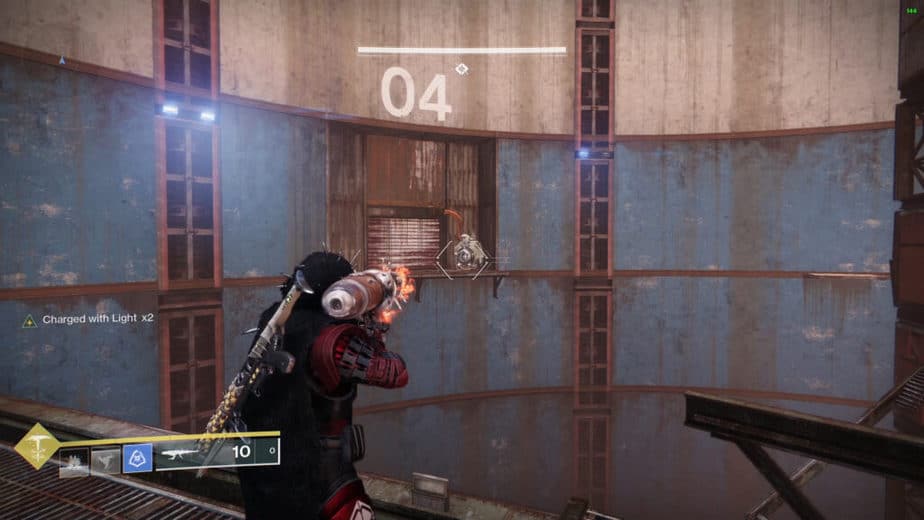
This is another main mechanic of the dungeon, you will have to acquire a Scorch Cannon and then shoot it at an energy box holding the trigger until it charges the shot and then let it go to fully charge the energy box.
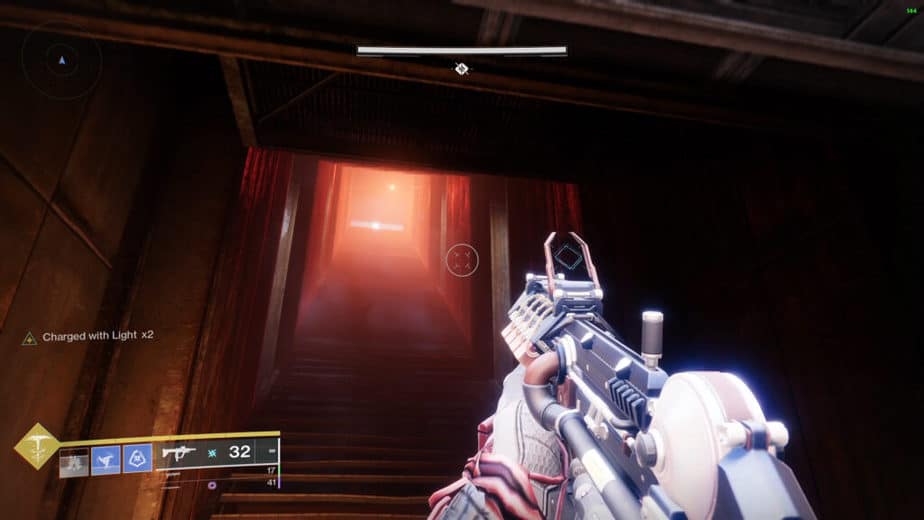
With that done, the door will open and you can climb up the stairs, but wait, once you start going up the stairs a huge barrel will come crashing down.
You will have to go into the breaches in the walls to not get crushed and die.
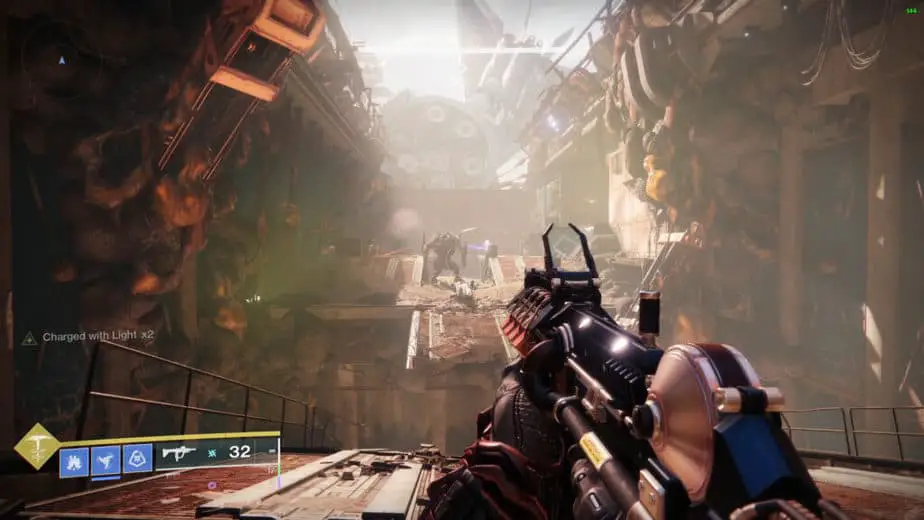
Now, proceed forward until you reach a big open room, there you will have to jump up to the vents and go from there until you reach the first boss encounter.
You can also see a walkthrough by Esoterickk below if you want the extra help:
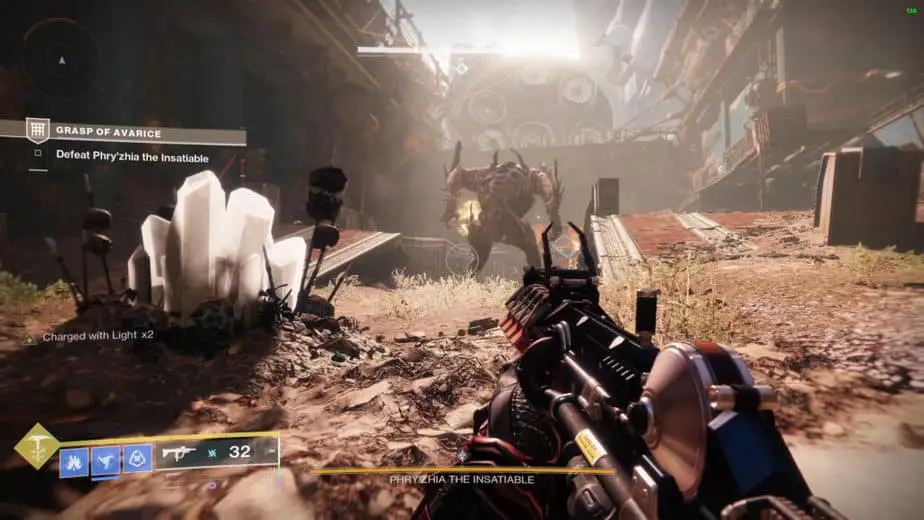
Phryzhia The Insatiable
The first boss encounter of the dungeon is to defeat Phry’zhia The Insatiable.
The encounter is easier than it seems at first, the area is divided into two sections, the left side and the right side.
Each side will have locked doors, in which to open you will have to charge their respective energy box whit a Scorch Cannon.
You can find the Vandal carrying the Scorch Cannon in the very back of the area, kill it and it will drop the Scorch Cannon to charge and open the doors.
Once you’ve opened the doors of one side, you will have to kill the enemies inside and pick up the exotic lookalike engrams they drop to yet again get the Burdened by Riches debuff.
Then, once you have a good amount of Burdened by Riches stacks, run into the front part of the area where you can find the white crystal and stand next to it to charge it up.
Now repeat the same process but by opening the doors from the other side, repeat the process until you charge up the crystal.
Once you’ve charged up the crystal enough, it will lower the boss shield and now you can damage him.
After a certain amount of time, the shield will come back, so, if you did not kill the boss, you will have to repeat all of it again until you kill the boss.
Once you’ve killed Phry’zhia, grab your loot in the middle and go through the door in the back.
You can also see a walkthrough by Esoterickk below if you want the extra help:
Disarm The Mines
At this point, you will reach a big room with two terminals and a big door.
You will have to activate the terminal on your left to open the door, as the one on your right is a trap.
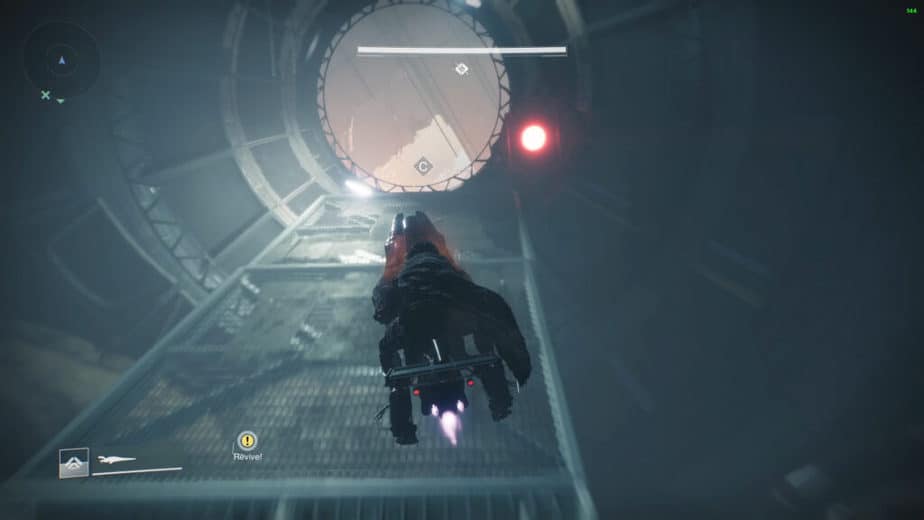
When you open the door, hop on your sparrow and be prepared to ride it very fast.
In this area, you will have some mines on the way that you will have to disarm by standing near them for just a second, so, you will have to be very fast to reach and disarm the last mine.
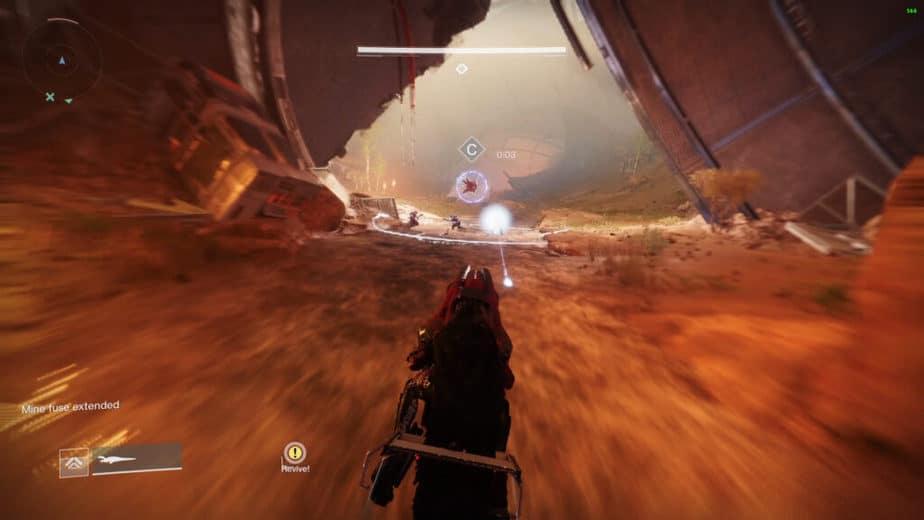
If you fail to disarm the mines you will die, each mine you disarm gives you around 15 seconds, however, there are some switches along the way that will increase your time a bit more.
To activate the switches you just have to ride your sparrow near them and they will change from red to green and extend your time.
When you disarm all the mines, you will complete this encounter.
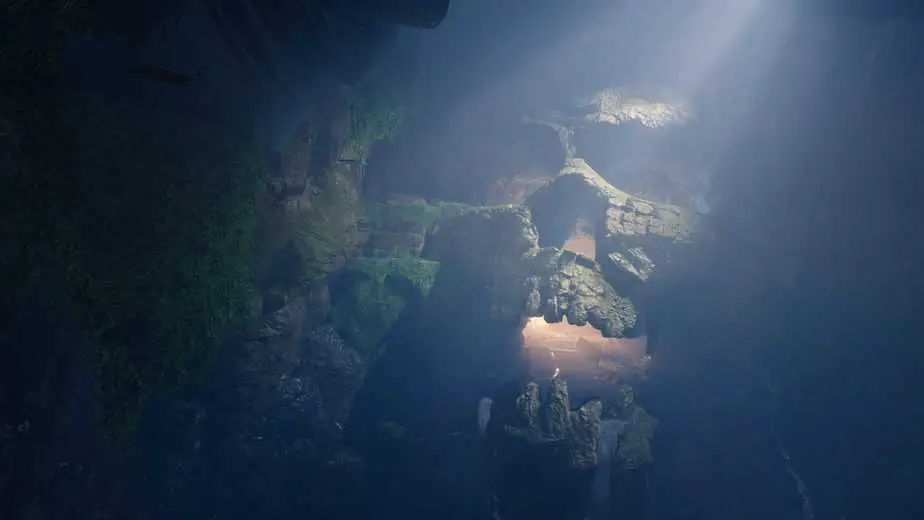
And also don’t forget, when you reach the big skull and disarm the last mine, there is a secret chest inside the skull’s left eye, just jump up there and open the chest.
You can also see a walkthrough by Esoterickk below if you want the extra help:
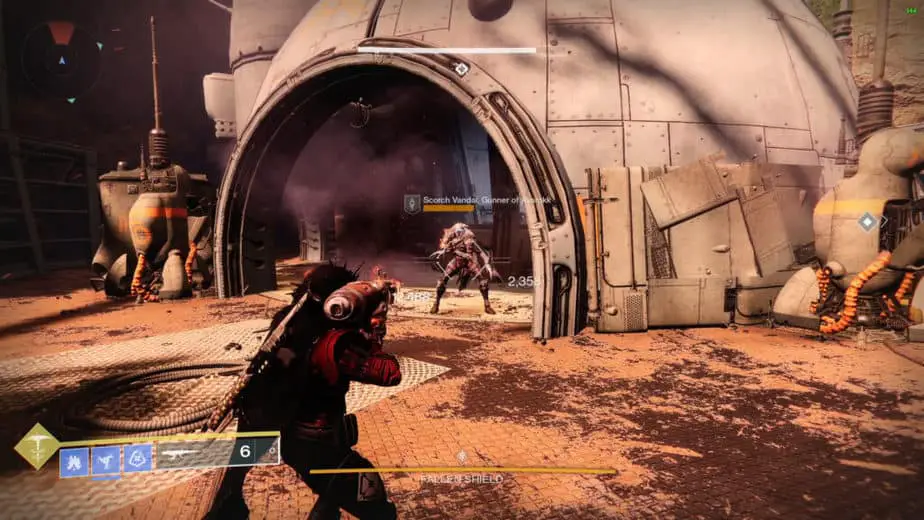
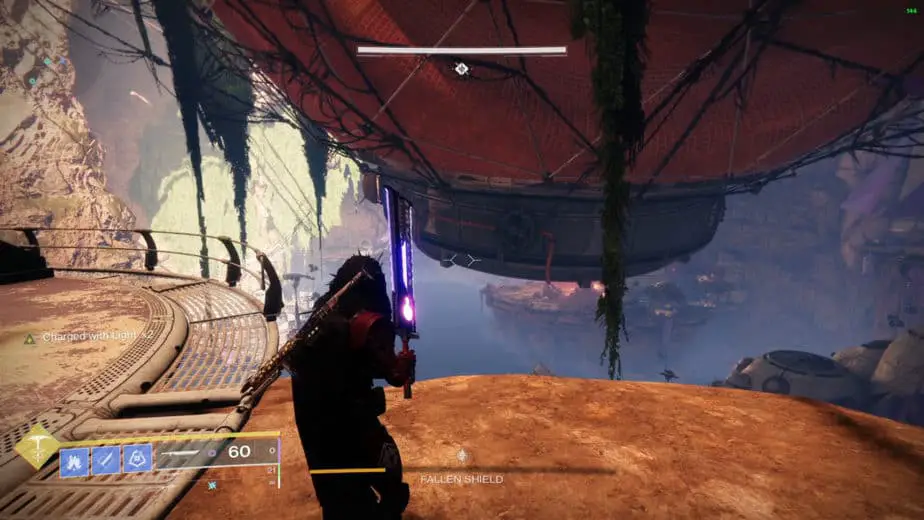
The Fallen Shield
The main objective in this area is to destroy the Fallen Shield that is blocking the entrance of the giant mechanical thing in the center of the ceiling of this area.
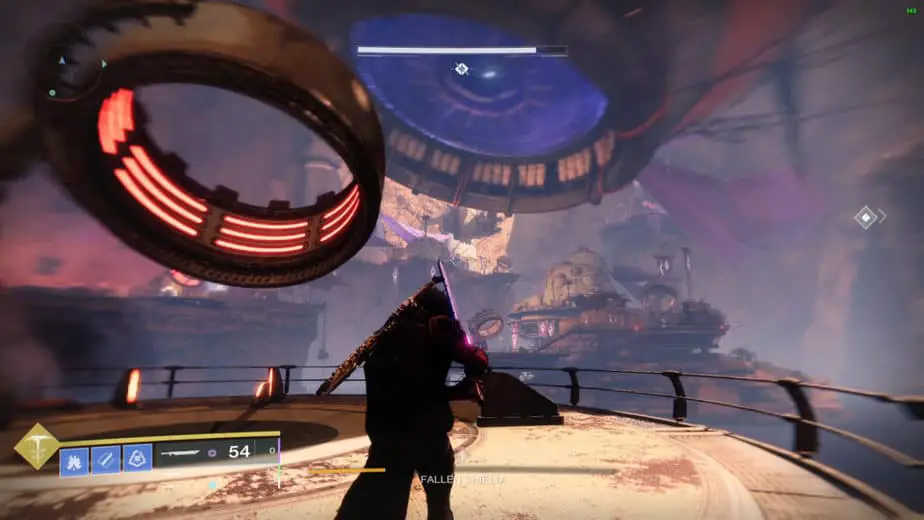
To do that you will have to destroy the orange nodes that are alongside the border of the shield.
This area is divided by multiple island platforms around it, and in each of them, there is a cannon which you can move in multiple directions and a Vandal with a Scorch Cannon.
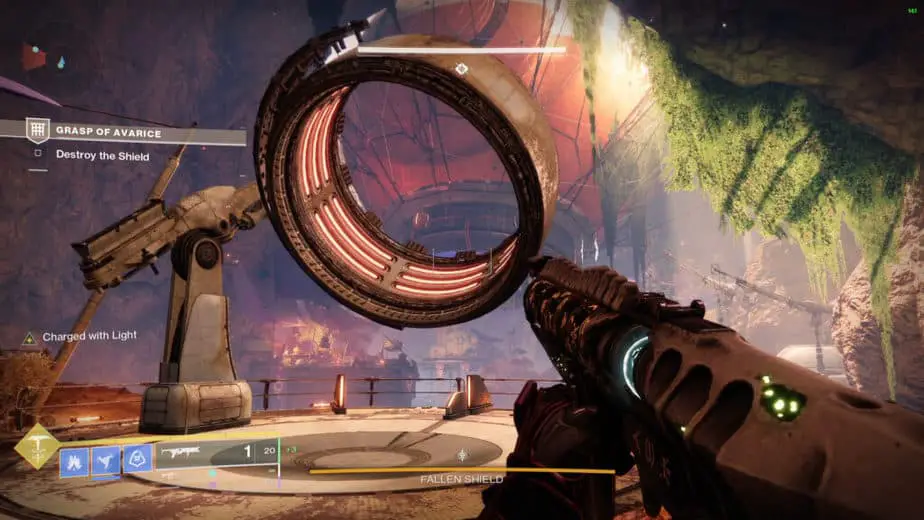
Find and kill the Vandal with a Scorch Cannon, then shoot the Scorch Cannon at the energy box connected to the cannon to activate it. (Same mechanic with the Scorch Cannon as before.)
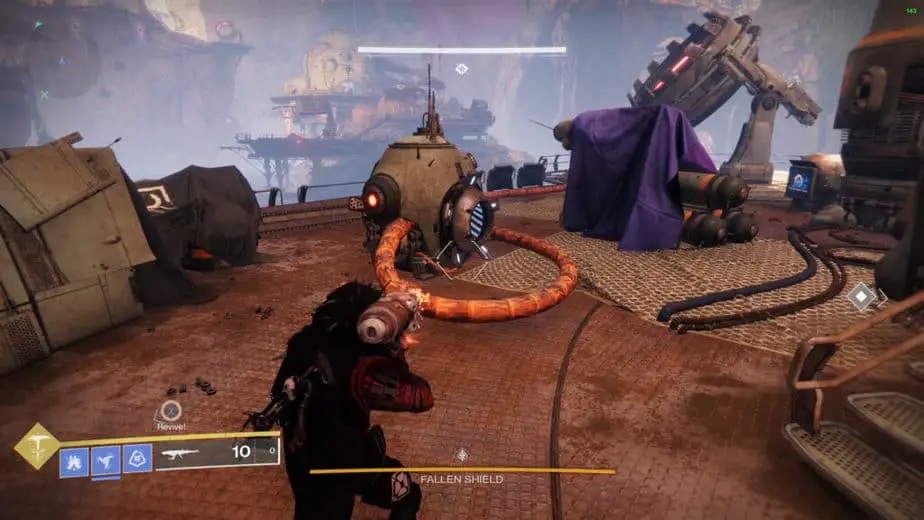
You will have to shoot yourself through the cannon to the other island platforms.
For this encounter, you will have to look for a shielded Servitor that will be in one of the platforms, when you locate him you will have to shoot yourself through the cannons until you reach the platform with the shielded Servitor.
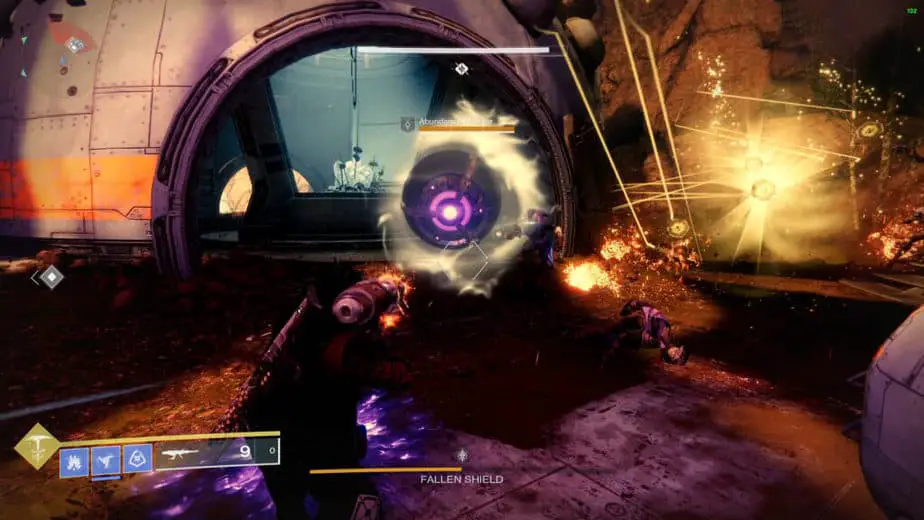
Now you need to kill all the enemies there and pick up the engrams they drop, and then go deposit them in the crystal that is in the center of the platform.

When you’ve charged up the crystal the Servitor will lose its shield and then you can kill the Servitor.
Once you’ve killed the Servitor, it will become a bomb, then you will have to physically push the bomb onto the cannon platform, rotate the cannon until it’s facing the orange node near the shield.
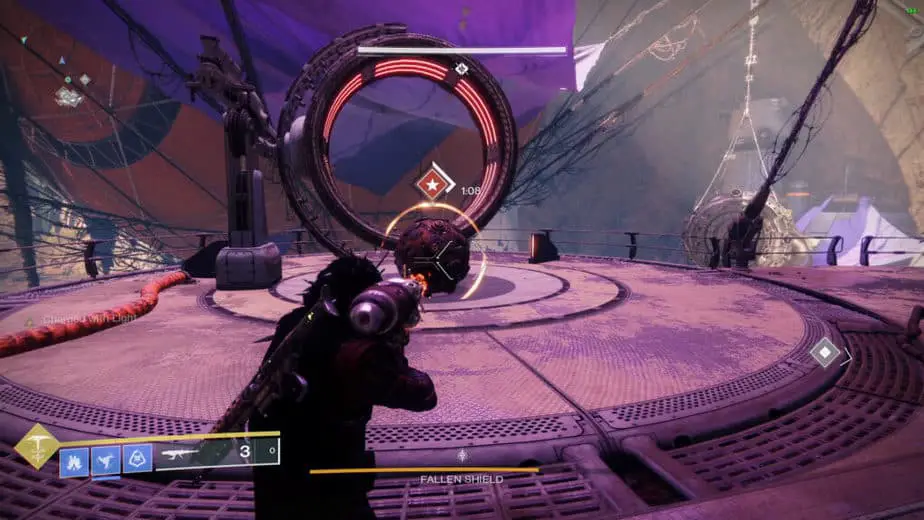
With that done, activate the cannon by shooting the energy box with the Scorch Cannon and it will destroy the node.
If you did all correctly, you will take some health from the Fallen Shield health bar. Repeat this process three more times to complete this encounter.
Then shoot yourself through the cannon that is in the center platform in the lagoon, shoot up, to where the shield was, and make your way to the final boss fight.
You can also see a walkthrough by Esoterickk below if you want the extra help:
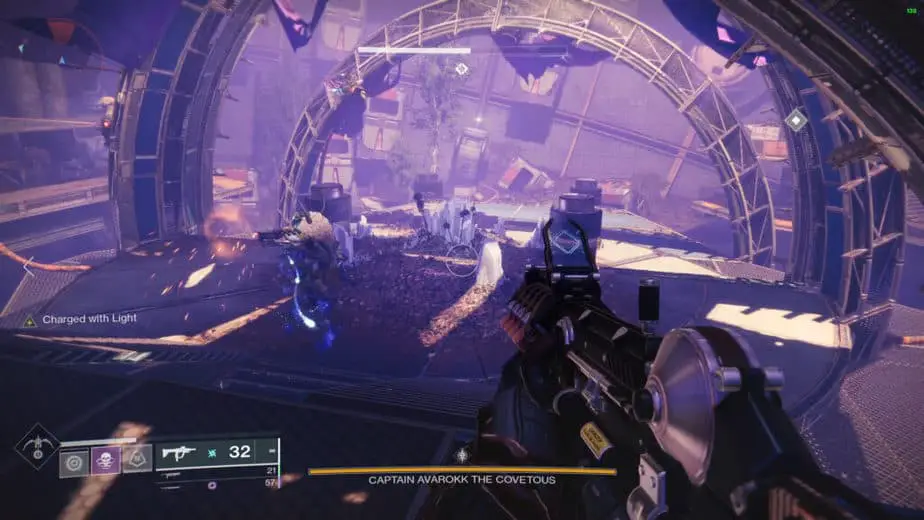
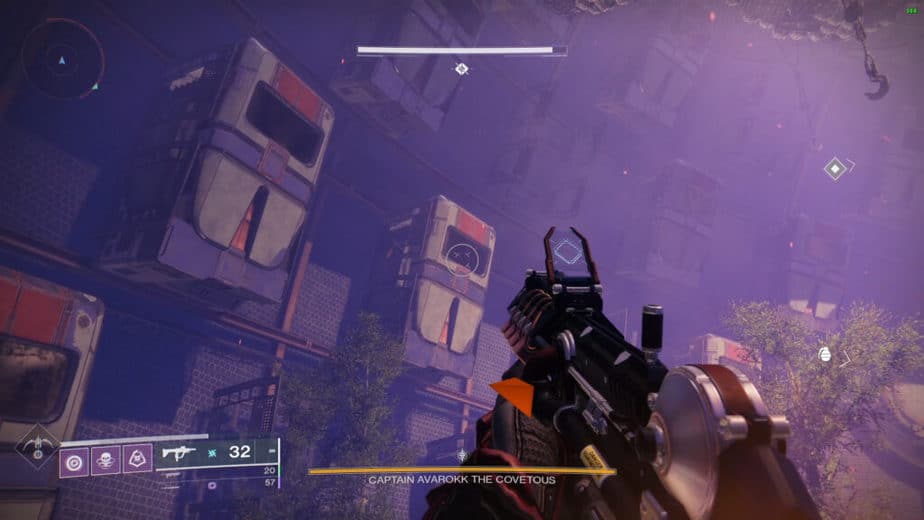
Captain Avarokk The Covetous
The final boss of Destiny 2 Grasp of Avarice dungeon is Captain Avarokk The Covetous.
In this area, there will be three sections with enemies and the middle section where the boss will always be.
The most trouble in this part will be the Shank and the Vandal that spawn near the boss, every time the boss regains its shield they will spawn again, so, the first thing you should do is to kill these two enemies.
The mechanics for this encounter is yet again to pick up the engrams to gain the Burdened by Riches debuff and deposit it in the crystal.
The crystal is in the center of the area, near the boss, when the crystal is charged up the boss will lose his shield and you can damage him.
In this encounter, to get the engrams you will have to find and kill the Vandal with the Scorch Cannon, and then use the Scorch Cannon to charge the energy boxes that are attached to the rings in the center near the boss.
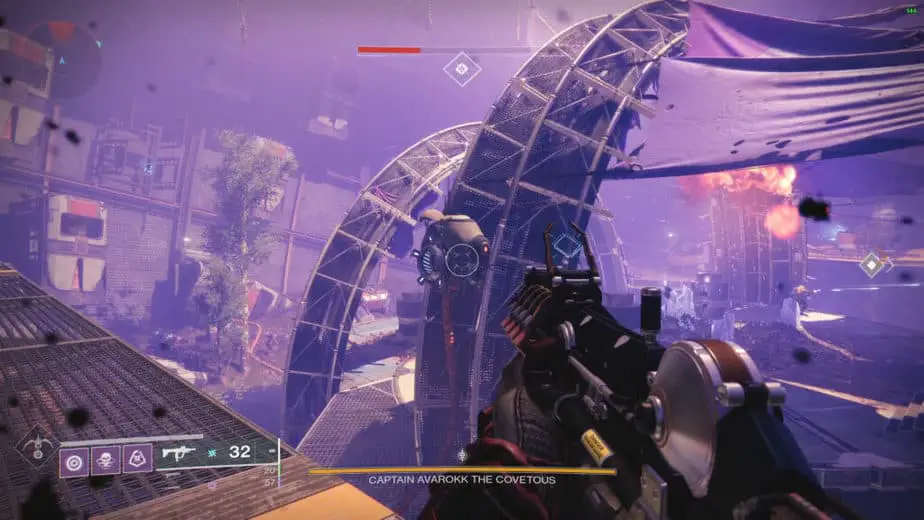
Doing that will activate the chests attached to the walls and they will drop a lot of engrams to pick up. You will have to repeat this process until you charge up the crystal, so you need to pick up a lot of engrams.
Note that when you charge an energy box, then you will have to charge another one because if you trie the same one it will not charge, there are three energy boxes, and you have to keep rotating between them.
Once you charge up the crystal the boss will lose his shield, and like the first boss, you only have a certain time before the shield comes back.
If you did not kill the boss in the first phase, you will have to repeat all of the above steps again.
You can also see a walkthrough by Esoterickk below if you want the extra help:
When you finally defeat Captain Avarokk, the big chest in the middle will open, you can now go grab your precious loot, and the dungeon is completed.
Grasp of Avarice Secret Chest Locations
There are two secret chests in this dungeon and just like other secret chests, these will only reward you with the gear you’ve previously earned in the dungeon.
But note that the secret chests will only give loot once per week on each character.
First Secret Chest
The first chest is in the room where you first encounter the scorch cannon, the room with the numbers above the doors.
The chest is between the Number 3 and Number 4 sections in a large metal beam.
To reach the secret chest you have to jump onto the small collapsable platform that’s embedded into the wall adjacent to this beam.
When you jump onto the platform you will have to very quickly because the platform will collapse once you touch it, then face the metal beam and jump up onto the platform with the chest.
Second Secret Chest
The second secret chest is at the final of the disarm the mines encounter, in the giant skull.
When you reach the big skull and disarm the last mine, there is a secret chest inside the skull’s left eye, just jump up there and open the chest.
And don’t forget that completing this dungeon is a crucial step for unlocking the Gjallarhorn Exotic rocket launcher!
You can also check out our Destiny 2 Gjallarhorn Quest Steps Guide, which explains how to complete the “And Out Fly The Wolves” Exotic Quest and how to unlock the Gjallarhorn.
And if you want to unlock the ornament for Gjallarhorn, you can check out our guide of All Wilhelm-7 Messages Locations, which can be found within the dungeon, for “The Richest Dead Man Alive” Triumph.